Fontein Cave Photos: A Shallow Cave With Very Deep Light
The path down to Fontein runs through open desert, and the heat reaches you first, then the smell: damp limestone, dry dust, a green note from the scrub at the mouth. The cave itself is short. You can see from the entrance to the back wall in a single glance, which unsettles people who arrive braced for cathedral chambers and endless passages. What you get instead is one room where daylight and lamplight argue with each other, and every photograph is a small negotiation between the two.
This page is about how to shoot Fontein properly: where to stand, what the light does at which hour, which formations frame well, and how to photograph the Arawak drawings without doing them any harm. The story behind those panels, the people who made them and the archaeology around them, lives on our Fontein Cave history and Arawak drawings page.
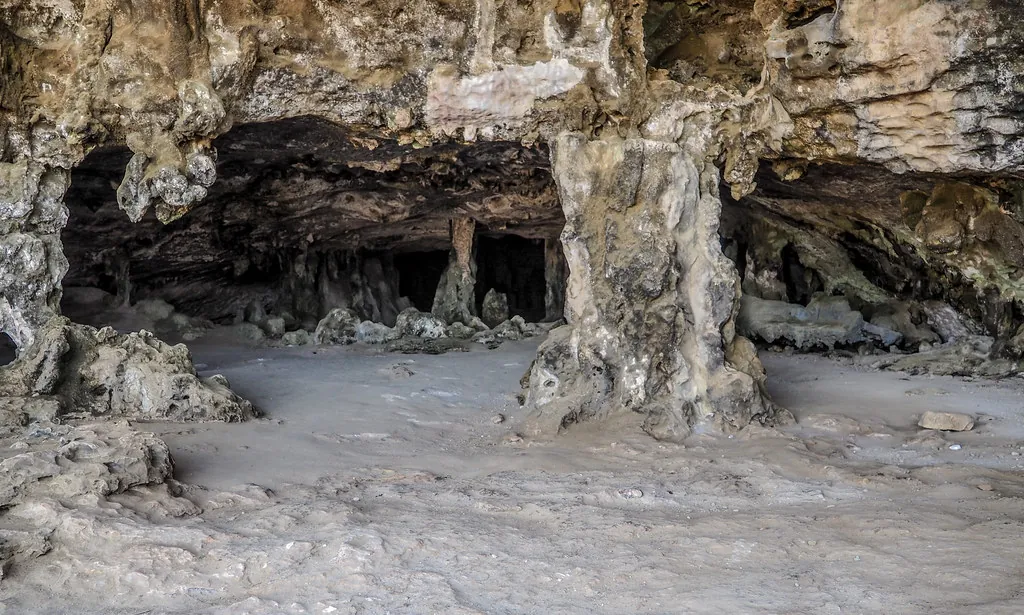
- Where to stand inside the chamber, and which three angles carry the strongest frames.
- Camera and phone settings that survive mixed daylight and warm lamp light.
- Which geological formations photograph well, and which just look like grey rock.
- An honest no-flash ethic for the painted panels, with caption guidance to match.
- Exterior shots in Arikok’s desert, the half of the visit most people forget to point a lens at.
The Cave Has Two Lights and They Disagree
Fontein is lit from two directions at once. Daylight pours through the wide entrance and a collapsed section of roof, arriving cool and blue at roughly 5,500K on a bright morning. The installed lamps along the walkway and aimed at the formations run warm, closer to 3,000K, and they cast a colour you can see with your own eyes before you ever lift a camera.
That mismatch is the biggest reason holiday photos from Fontein look muddy. Half the frame is blue, half is amber, and the camera picks one and abandons the other. Set white balance by hand (around 4,000K splits the difference), or shoot the daylight side and the lamp-lit side as separate frames, or decide that black and white is the honest answer. Plenty of my own keepers from this cave are monochrome, because the shapes carry the picture and colour only muddles it.
Weather matters more than visitors expect. A flat, overcast morning is the easiest light you will ever get here: soft, even, no hard shaft of sun burning a hole in the floor. On a clear day the sunbeam landing near the entrance is lovely and nearly impossible to expose without blowing it out. The best arrival slots are the first hour after the park opens, or the mid-afternoon gap once the coach groups have rolled on toward the Natural Pool.
If you remember one thing: put your back to the entrance, expose for the wall, and let the doorway go bright. A blown opening reads as intentional. A blown drawing reads as careless.
Low-Light Settings That Actually Hold Up in Fontein Cave
Fontein is dark rather than pitch black. There is enough light to work without a tripod, which is fortunate, because tripods and monopods are awkward in a busy walkway and can be restricted. These are the starting points I hand out on my walks. The full etiquette list sits on the visitor rules page.
| Setting | Phone | Camera | Why it matters |
|---|---|---|---|
| ISO | 400–800 near the door, 1600–3200 deeper in | 800–3200, push to 6400 if you must | Grain is far easier to fix than motion blur |
| Shutter speed | Let Night mode stack (1–3 sec) | 1/60s handheld, 1/30s braced | Below 1/30s you need something solid to lean on |
| Aperture | Fixed, usually f/1.8–f/2.2 | f/2.8–f/4 | Wider apertures soften the corners on limestone detail |
| White balance | Manual if your app allows, otherwise shoot RAW | 3,800–4,200K | Or convert to black and white and stop worrying |
| Flash | Off | Off | Covered in the drawing section below |
| Night mode / long exposure | On away from the entrance, off when people walk through | Bracket instead | Stacked frames smear anyone moving |
| HDR | On for the doorway, off for the panels | Bracket three stops apart | HDR flattens the contrast that makes faint pigment visible |
| Tripod | Not practical | Not practical | Brace on the railing or a boulder instead |
| Digital zoom | Never | n/a | Crop later on a bigger screen |
Interior Angles Worth the Walk
Angle One: Shooting Out From the Entrance
Stand two or three metres inside, let your eyes settle, then turn around and face the daylight. Silhouettes work here: a friend framed in the mouth of the cave, desert glare behind them, dark rock at the edges. Expose for the rock rather than the sky and you keep detail in the cave wall. Brace your elbows, breathe out, press the shutter.
Angle Two: The Drawing Panels, Side On
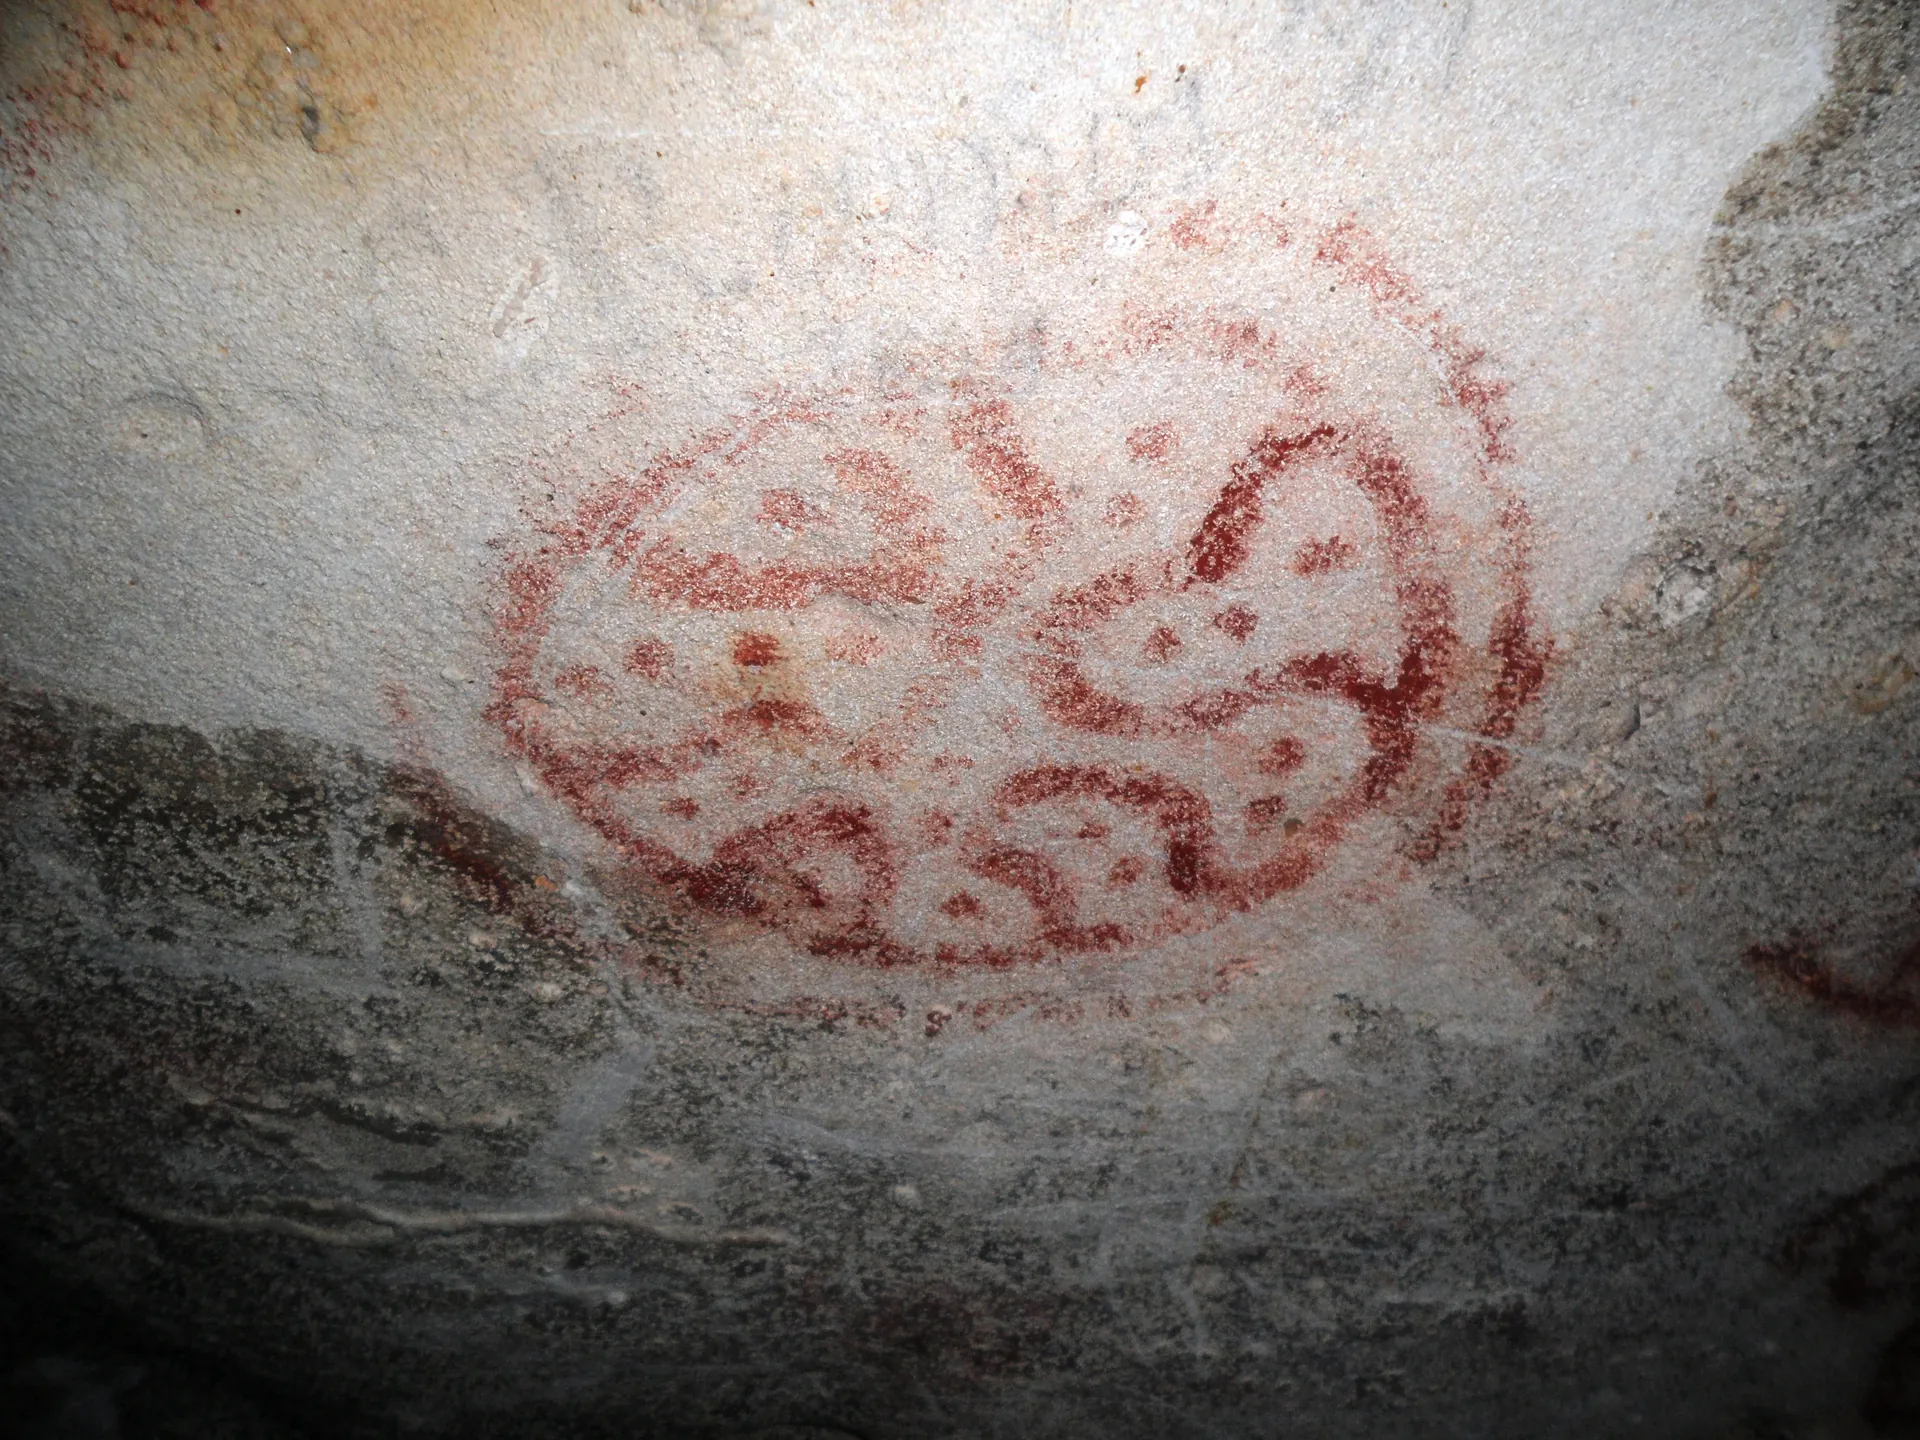
The Arawak panels respond to raking light, which means light arriving almost parallel to the rock surface. Move yourself rather than your subject: two steps to the left often reveals a figure that vanished when you stood square on. Stay behind the barrier, keep your shadow off the panel, and shoot from slightly below so the rock texture sits behind the pigment.
Angle Three: Straight Up Under the Skylight
The collapsed roof lets a column of daylight fall onto the floor, and the ceiling around it is thick with soda-straw stalactites and wet flowstone. A wide lens pointed up, phone held flat against your chest for stability, catches all of it. Drop exposure compensation by two-thirds of a stop to protect the highlights, then lift the shadows in editing.
Reading the Rock: Which Formations Frame Well
Limestone in a cave is a record of water. Fontein has the full set: stalactites hanging from the ceiling where drips lose their carbon dioxide and leave calcite behind, stalagmites rising from the floor where those drips land, and the occasional column where the two have met and fused into one piece. The surfaces look like melted candles in an old cathedral, all drips and ridges and long vertical runs.
The formation that pulls out everyone’s camera is the calcified root system toward the back, sometimes called the Christmas tree. A tree root pushed through the ceiling generations ago, water ran down it, and calcite wrapped the root in a sleeve of stone. The root has since rotted away, leaving a hollow cast that glows under the coloured lamps. Coloured light wrecks accurate colour, so either set white balance by hand or shoot it in black and white and let the texture do the work.
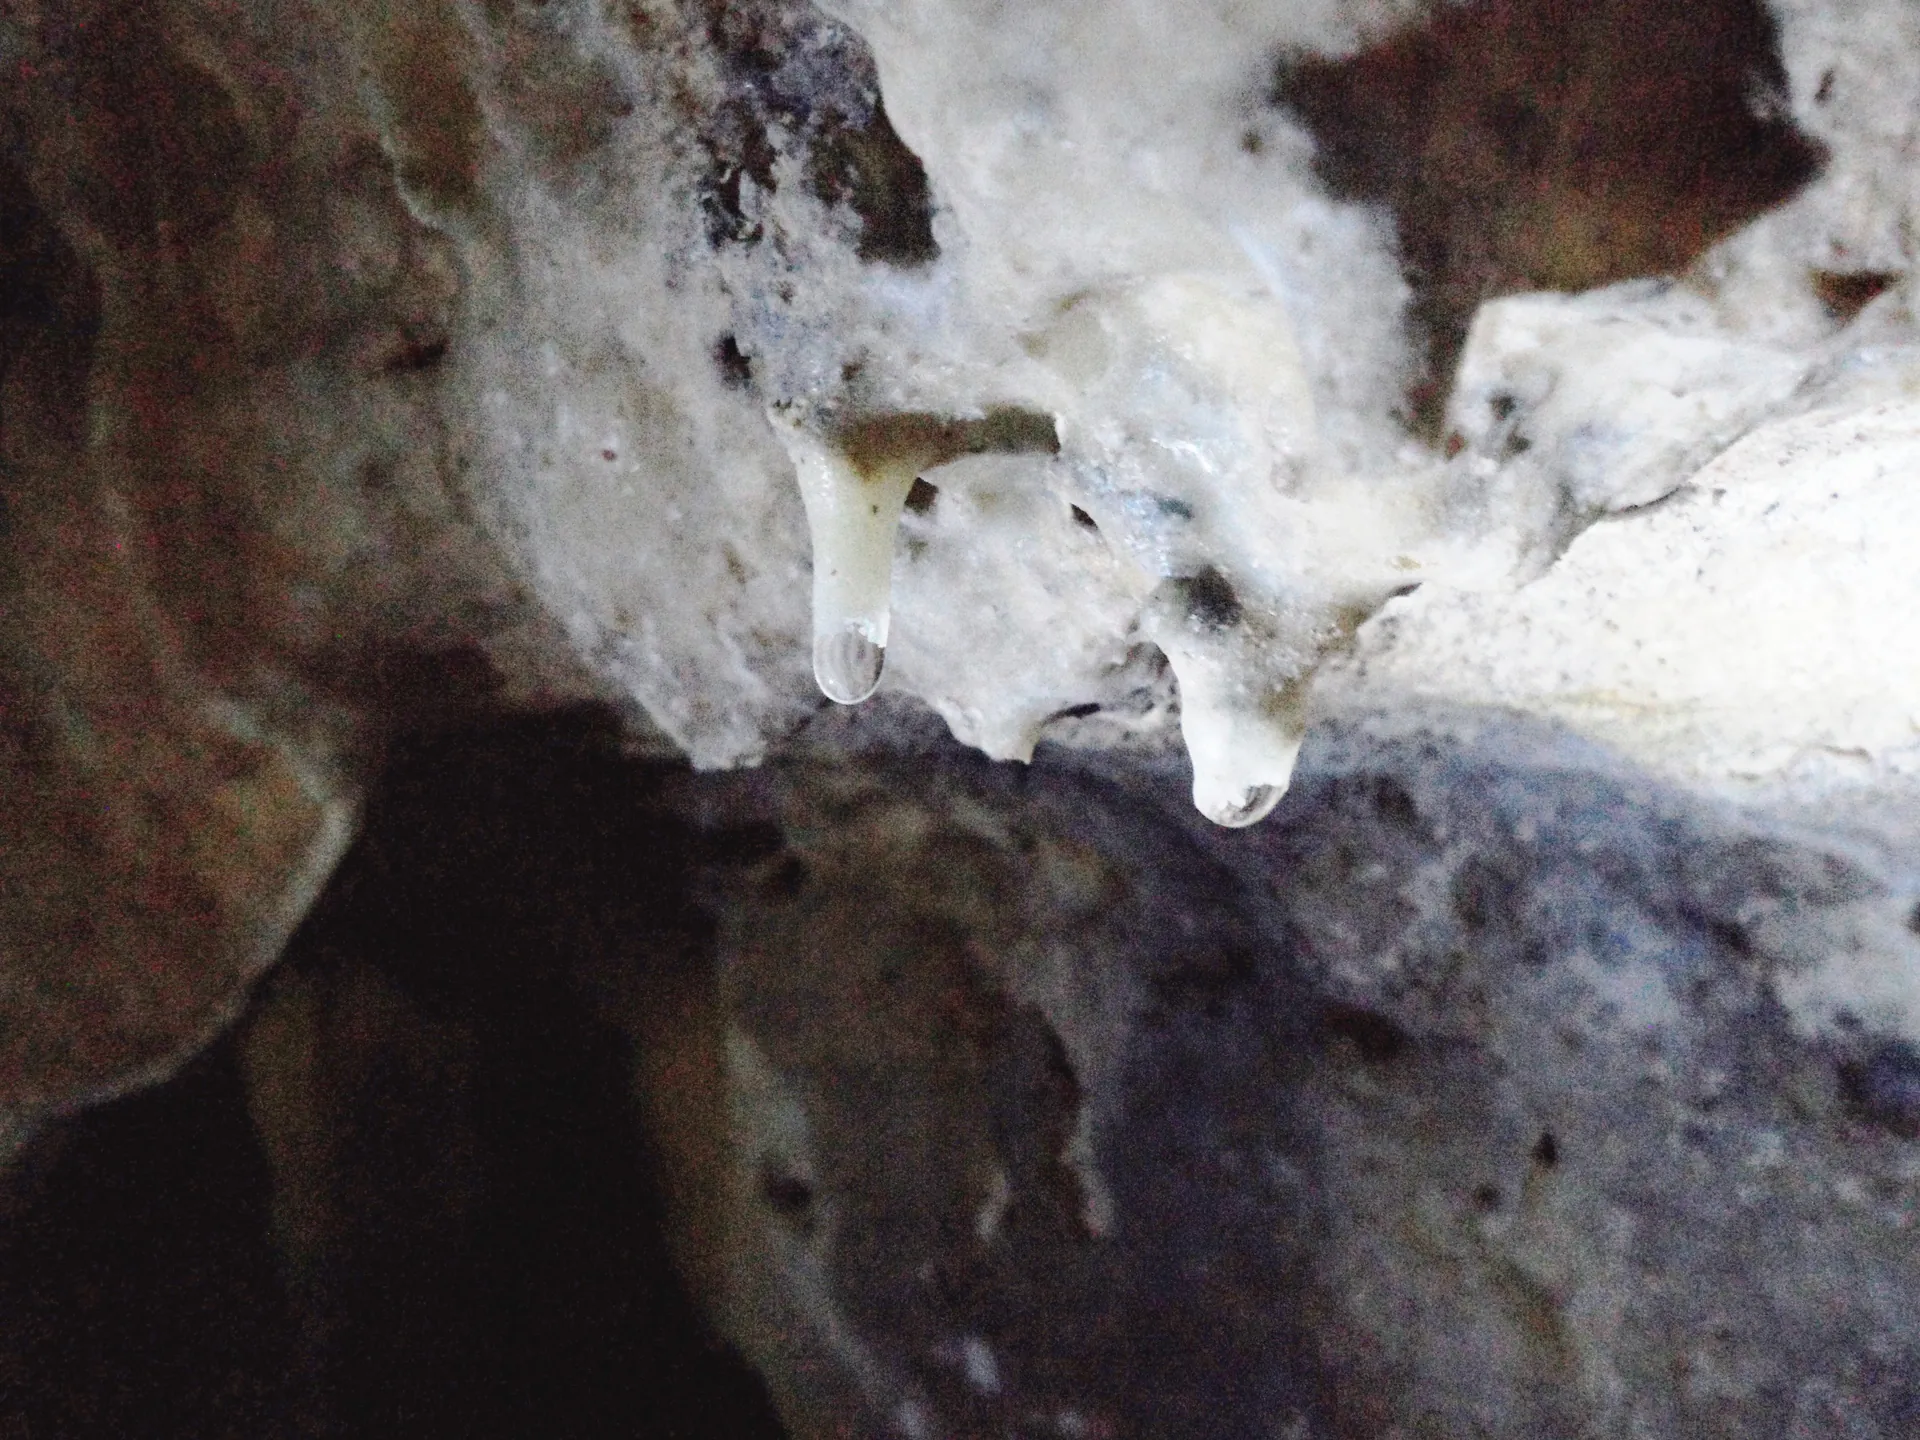
Fontein’s limestone is doing the same slow work it did before anyone arrived: water, stone, patience, and the occasional root.
Photographing the Arawak Drawings Without Fading Them
Fontein’s panels hold pictographs, meaning figures painted onto the rock with pigment, rather than petroglyphs, which are pecked or carved into the surface. That distinction matters when you write a caption, and it matters when you stand in front of them. Pigment on limestone is a thin, fragile skin. A flash adds light and heat, repeated hundreds of times a day by hundreds of visitors, and many painted caves ban it outright. These drawings deserve the same restraint whether or not a sign spells it out.
The Museo Arqueológico Nacional Aruba keeps the island’s archaeological record and is the right place to check facts before publishing. The Parke Nacional Arikok sets the on-site rules, and the Government of Aruba publishes heritage protection policy. If a caption claims something about the people who made these marks, take it from one of those three rather than from a random blog.
- Keep flash off. Push ISO and brace instead; a grainy photo of a drawing is worth more than a sharp photo that damaged it.
- Stay behind the barrier. The distance rule exists so no sleeve, bag strap or lens hood brushes the rock.
- Work the raking light. Early and late sun through the entrance skims the wall and lifts faint lines that vanish under flat midday light.
- Watch your own shadow. Stand between the entrance and the panel and you block the light you came for.
- Never touch, wet or trace a figure. Skin oils and water both attack pigment.
- Skip precise geotags on fragile panels. A general Arikok tag is plenty; exact coordinates invite crowds to a specific wall.
Outside the Cave: Arikok’s Desert Palette
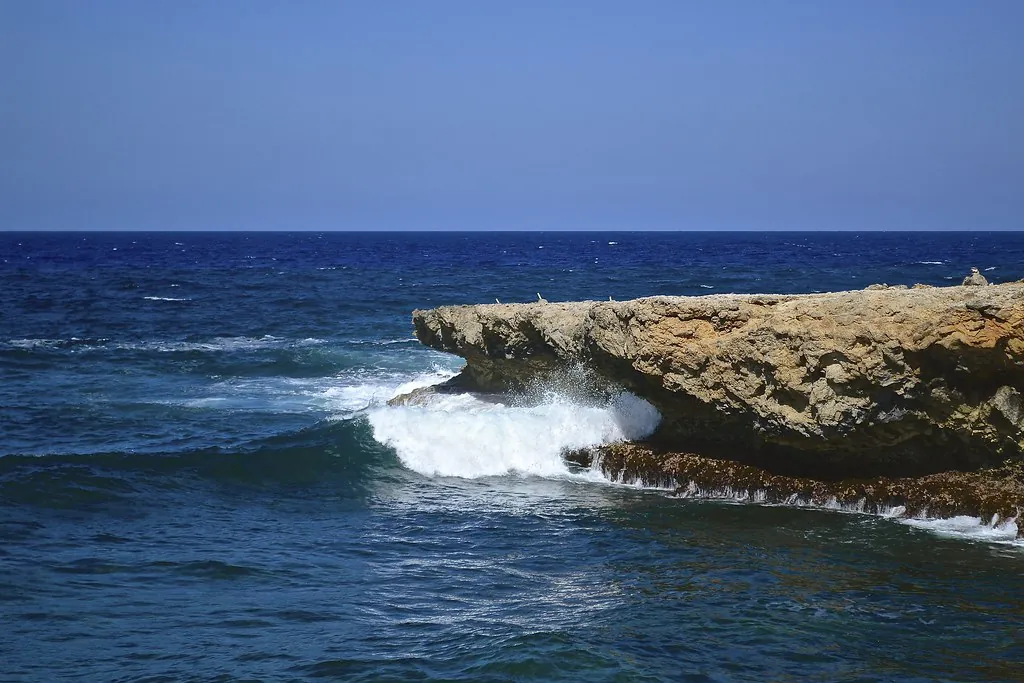
Half the photographs worth having at Fontein Cave Aruba are taken with your back to the cave. The threshold frames a slice of Arikok: divi-divi trees permanently bent toward the trade winds, kadushi and tuna cacti standing in the glare, limestone boulders bleached almost white, and a horizon that goes hazy by ten in the morning. The contrast between interior and desert runs eight or nine stops, so decide which one your photo is about before you press the shutter.
Expose for the cave and the desert turns to white soup. Expose for the desert and the cave mouth goes black. No single frame holds both, which is why I shoot the doorway as a silhouette or as two separate exposures and blend them later. A polarising filter earns its place outside: it deepens the sky, cuts glare off the limestone, and helps the cacti read as green rather than grey. The Aruba Tourism Authority keeps a seasonal weather overview if you want to plan around the light.
Phone or Camera? Both Cope Down Here
Shooting Fontein on a Phone
Modern phones handle this cave better than most people assume, provided you fight the automatic settings. Tap to focus on the drawing itself, then drag the exposure slider down a third to two-thirds of a stop. Turn off digital zoom and walk closer instead (within the barrier, obviously). Shoot RAW or ProRAW where your model allows, because recovering mixed colour temperature from a JPEG is miserable work. Night mode is brilliant for the back wall and useless when tour groups keep walking through your frame, so switch it off near the entrance.
Shooting Fontein on a Camera
Bring a body that stays clean at ISO 3200 and a fast wide prime, or an f/2.8 zoom if you would rather not swap lenses in a dusty environment. One lens, left on, is the sensible rule: changing glass outdoors here invites grit into the sensor. Microfibre cloths and a zip bag are non-negotiable, since humidity fogs a cold lens in about ninety seconds. Focus stacking is tempting for the ceiling texture, and unrealistic without a tripod, so nail the focus on the nearest stalactites and let the back go soft.
Ethical Captions: What to Write Under the Photo
A photograph of Fontein Cave travels further than the photographer does. It ends up on social feeds, in hotel slideshows, in someone’s holiday album that gets shown to a dozen friends. The caption is where most of the damage happens, usually by accident: wrong terminology, wrong attribution, or a tone that treats Indigenous art as an anonymous curiosity rather than the work of specific people. Get it right and the picture does something useful.
- Credit the Arawak (Caquetío) people as the makers of the drawings. “Ancient inhabitants” says nothing and credits no one.
- Use the correct term. Painted figures are pictographs; pecked or carved figures are petroglyphs.
- Drop the discovery language. These panels were never lost, and the people who made them did not need finding.
- Avoid precise location tags on the panels themselves. “Arikok National Park, Aruba” is enough for anyone who wants to visit responsibly.
- Mention the rules alongside the picture. A caption that says “no flash, stay behind the barrier” teaches every person who sees it.
- Check the record with MONA or the Parke Nacional Arikok before you publish a date or a meaning you are unsure about.
Practical Bits Before You Go
Fontein sits inside Arikok National Park, which means park entry applies before you reach the cave, and the drive in is rough enough that a small city car will not enjoy it. Fees, opening hours and the status of the closed cave pool are covered on our Arikok National Park and cave pool status page, and if you are weighing self-drive against a guided day, the transport guide lays out the road conditions honestly.
- A headtorch or small torch. A phone torch drains battery fast and washes out the drawings.
- A microfibre cloth and a zip bag. Dust outside, humidity inside, and a lens that fogs at the worst moment.
- One spare battery. Dark interiors and heavy screen use kill phones faster than a beach day does.
- Water and a hat. The walk from the car park is short and completely unsheltered, and the midday heat is a bit of a faff.
- Shoes with grip. The floor is uneven and the limestone near the entrance gets slick.
- A small notebook. Sketching a panel helps you remember which figure sat where when you start editing at home.
Guided jeep safaris through Arikok almost always stop at Fontein, usually paired with the Natural Pool and Baby Beach, and they take the dusty track and the parking problem off your hands. Our tickets and tours page compares the main options side by side, from half-day cave safaris to private Arikok tours that let you linger at the panels. If you are building a wider cave itinerary, the best caves in Aruba comparison sets Fontein against Quadirikiri, Guadirikiri and Huliba.
Before You Pack the Camera Away
The best Fontein photograph is rarely the one taken in a hurry. Give the cave twenty quiet minutes, let your eyes adjust, and the frames start appearing: a shaft of light on wet flowstone, a figure you missed on the first pass, the doorway holding a bent divi-divi tree. Take those, take them without flash, and leave the rock exactly as you found it. The visitor rules cover the rest of the etiquette, and the map and location guide gets you parked and pointed the right way.