Photographing Aruba’s Caves & Desert Landscape
The Light Problem in Aruba’s Caves
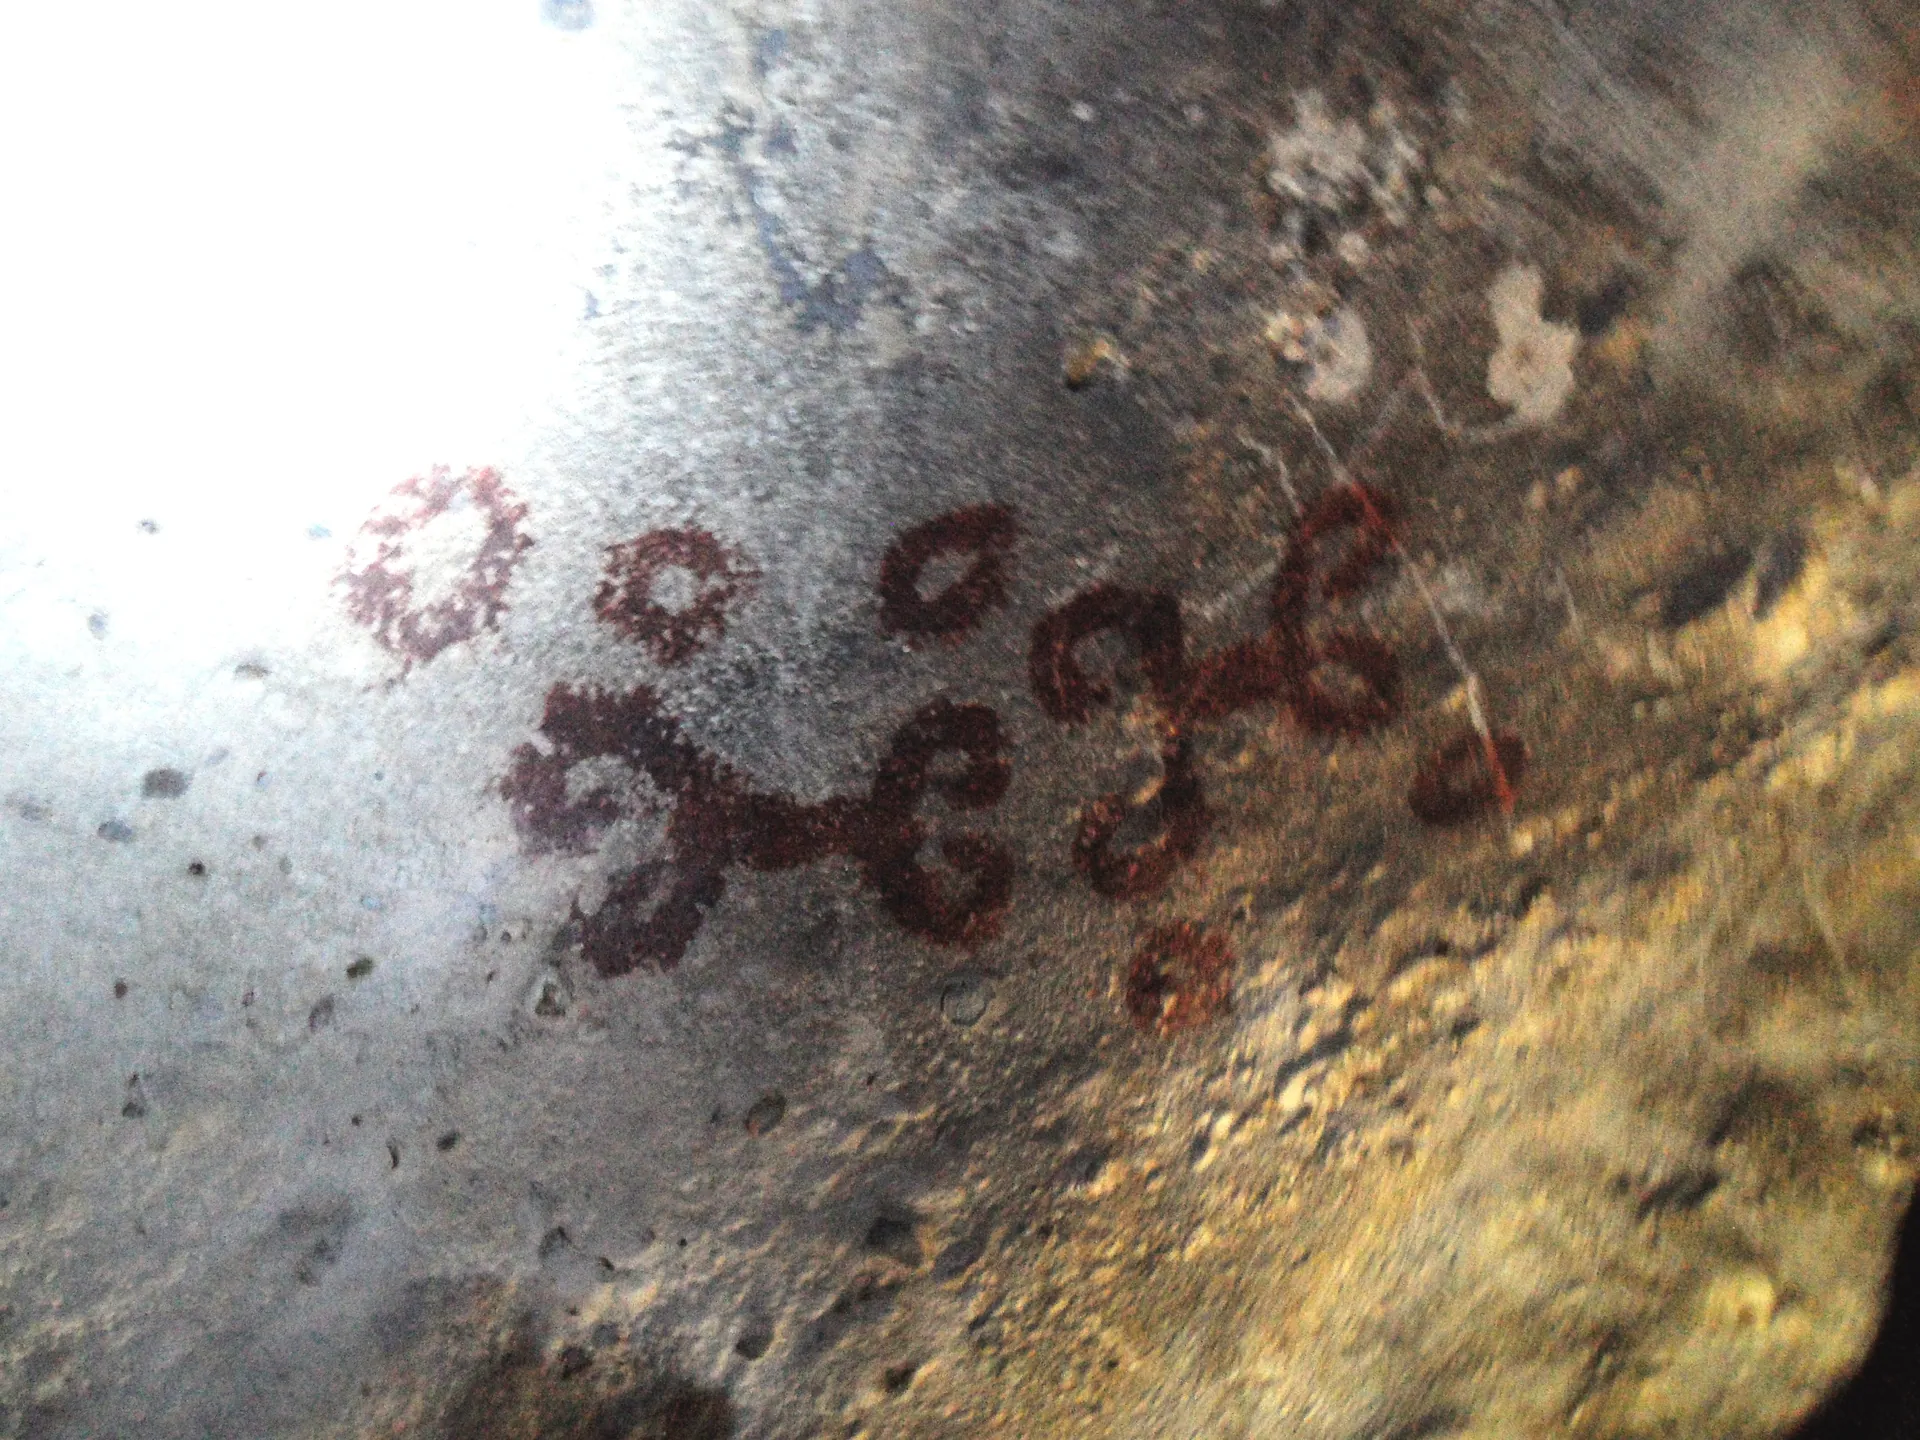
Fontein Cave has a broad daylight entrance, dim artificial lighting deeper inside, and a remarkable collection of Indigenous rock drawings on its walls and ceiling. Put those ingredients together and your camera meter starts making rather odd decisions. The bright entrance can turn into a white rectangle while the cave itself disappears into black, and the warm cave lights can push limestone towards yellow or green. Then there is the rock art, which deserves a photographer who can resist the urge to solve every dark frame with a flash.
This is the practical side of Aruba cave photography, written for the person carrying a camera into Arikok rather than admiring one from a hotel balcony. The aim is simple: get sharp, believable Fontein Cave photos without dragging half a studio through the desert, disturbing wildlife, or treating ancient drawings as a backdrop. For cultural background, keep the Fontein Cave history and Arawak drawings guide open alongside this one.
Inside Fontein, patience is better equipment than a faster lens. Give your eyes time to adjust before you decide the cave is too dark.
Know Your Three Subjects Before You Unzip the Bag
Fontein asks for three quite different photographic approaches. The Indigenous drawings near the entrance need restraint and careful exposure; the limestone formations deeper inside reward a locked-down camera and long exposure; outside, Arikok’s dry landscape is all about direction, texture and the quality of the sun. Treating the whole visit as one camera problem is how you end up changing lenses in a cloud of dust.
Rock Art Near the Entrance
Daylight reaching the entrance gives you more to work with than the deeper chambers, but the contrast can still be severe. Meter from the drawing itself, keep flash disabled and brace the camera against a permitted solid surface if your shutter drops below hand-holding speed. A properly haunting petroglyph does not need a burst of artificial light to announce itself.
Limestone and Root Formations
Deeper chambers are a different animal. Stalactites and stalagmites catch the cave lighting in small patches, while roots can hang across the ceiling in shapes that look rather like melted candles in an old cathedral. A tripod, low ISO and several seconds of exposure can pull out the texture without turning the rock into a noisy grey smear.
The Arikok Exterior
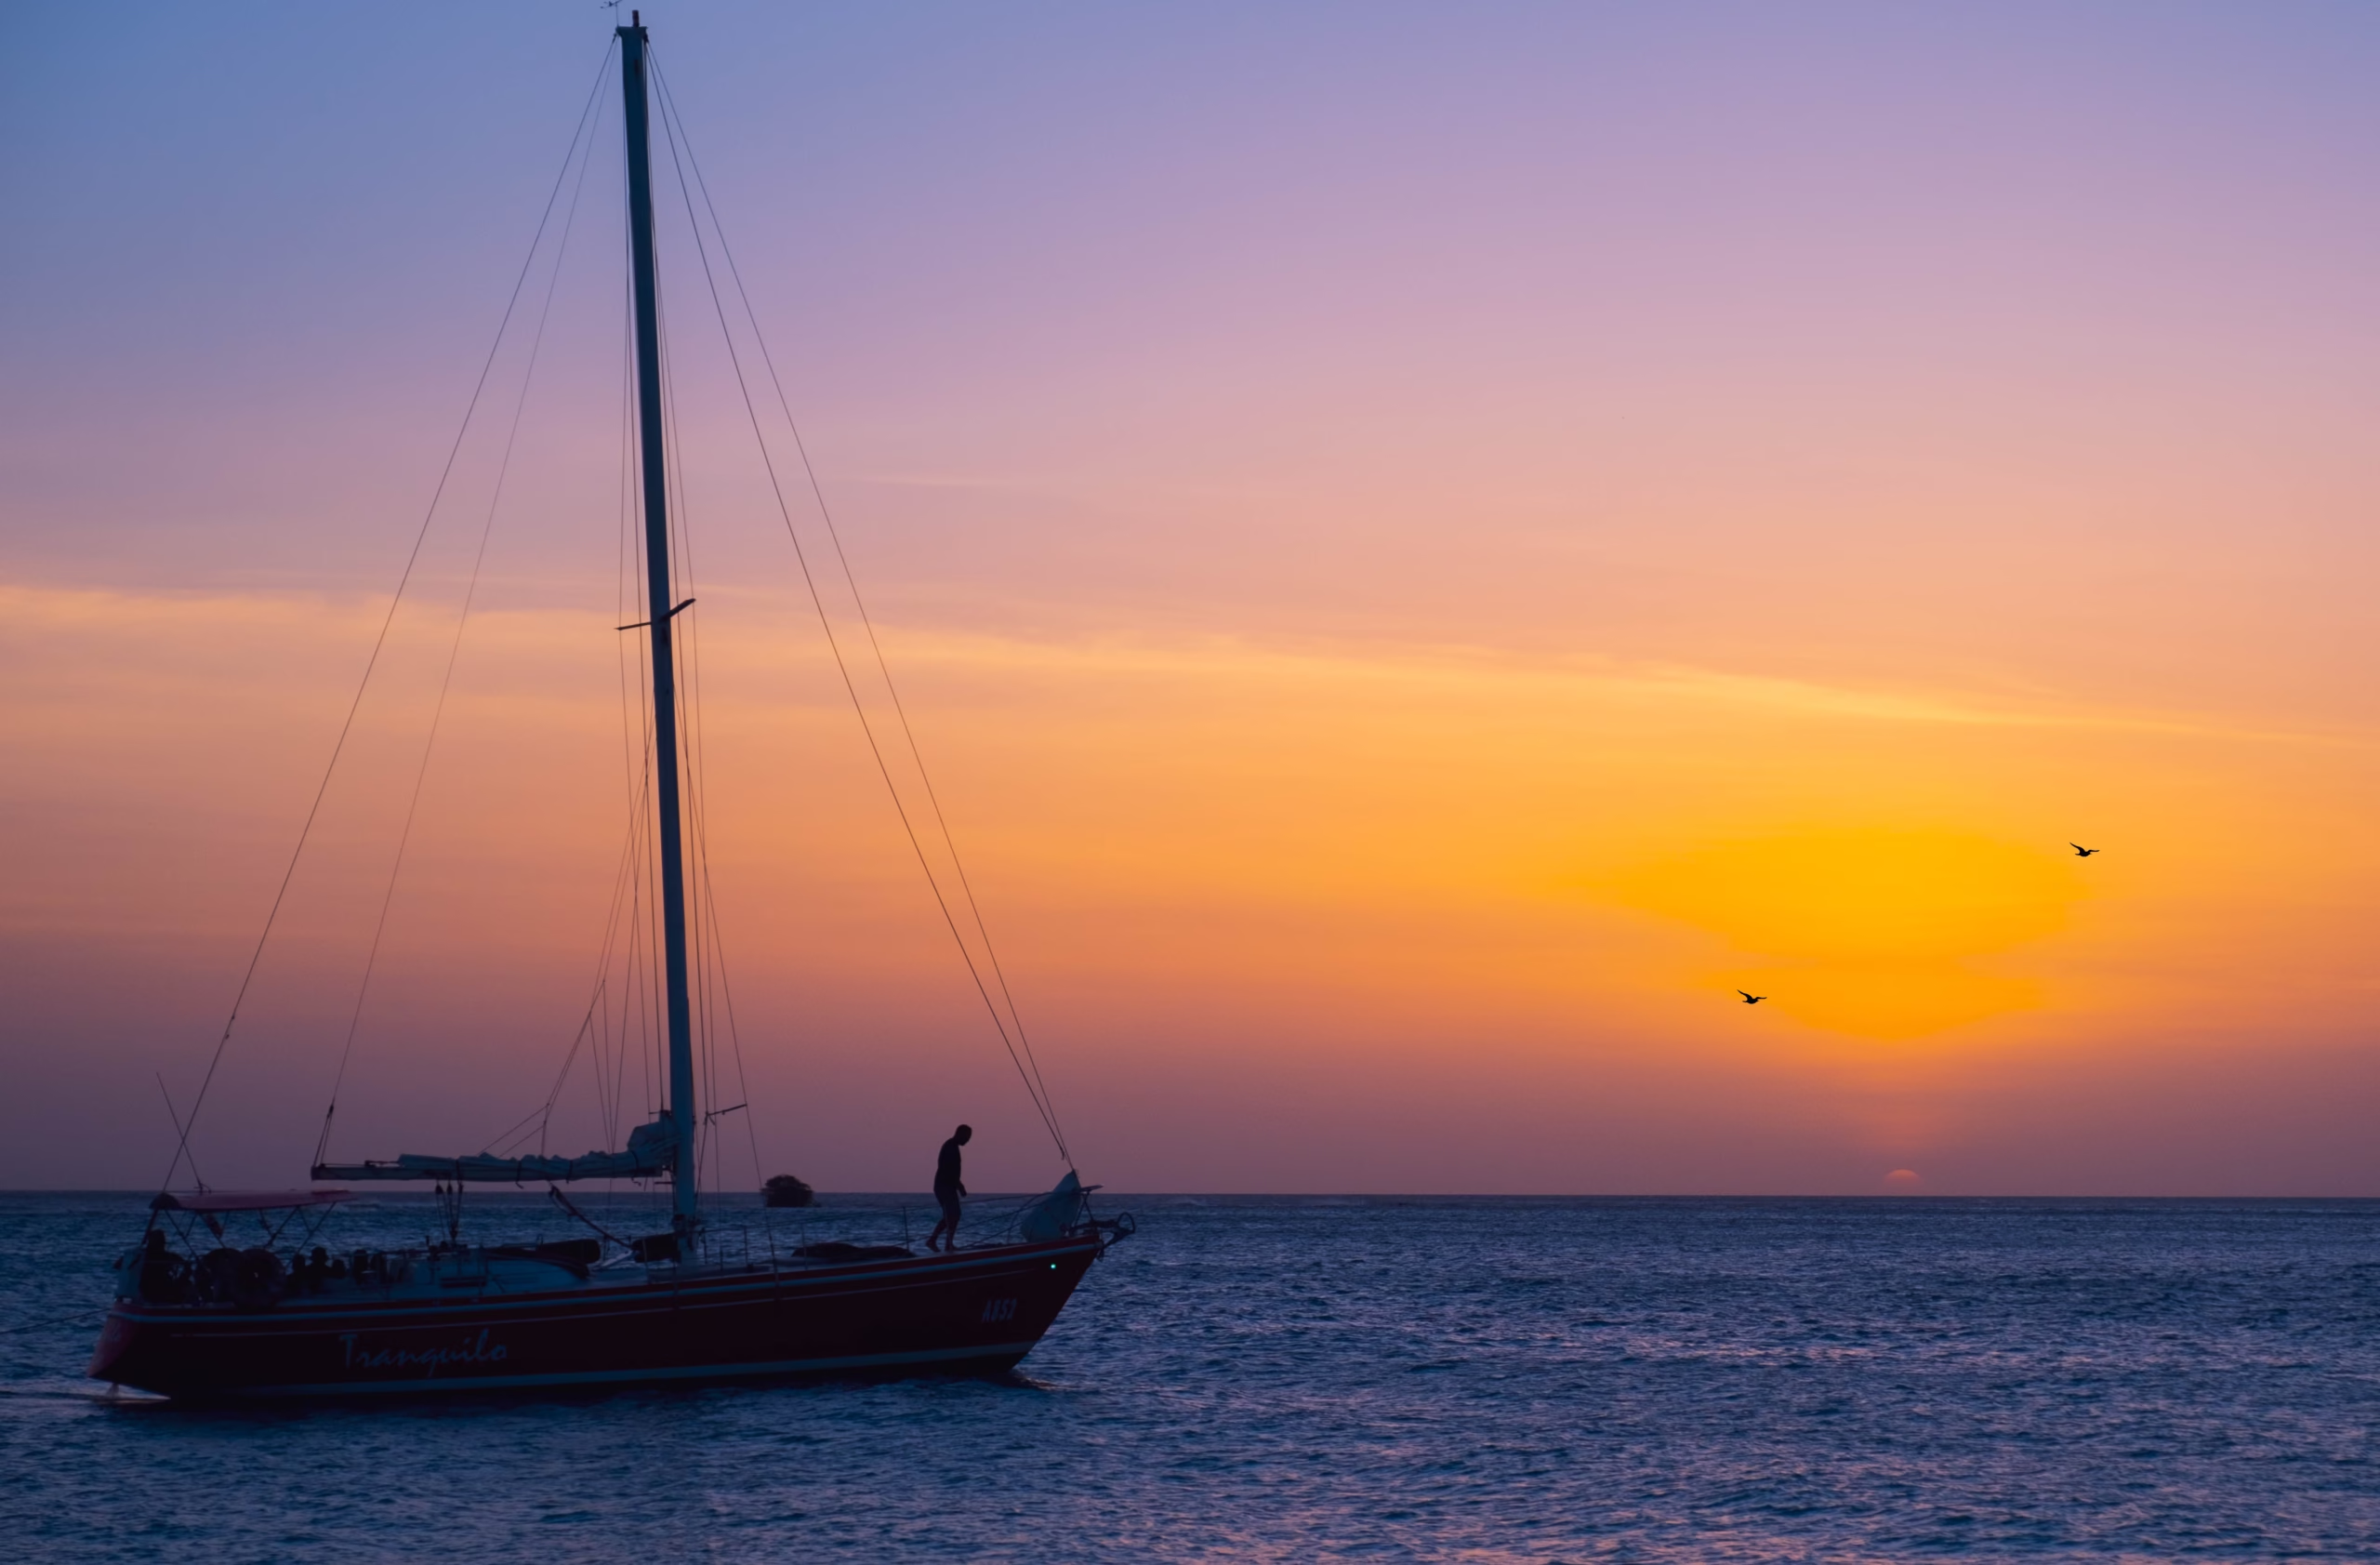
Outside, the problem flips. Aruba’s sun is strong, shadows become hard and pale limestone can throw glare straight into the lens. Divi-divi trees and kadushi cactus photograph beautifully when the sun is lower, while midday is often a bit of a faff for landscape work. Keep the wide lens for scale and carry a short telephoto if weight allows.
The official Aruba Tourism Authority cave guide confirms that Fontein and the other major caves are inside Arikok National Park, and describes Fontein as the cave associated with Indigenous drawings. The wider park is worth treating as part of the photographic subject rather than simply the road to the cave.
Gear That Survives Calcite Dust and Salt Wind
You do not need a huge kit for Fontein. In fact, taking one lens and learning what it can do is often the saner choice. Arikok’s dry tracks can put fine grit everywhere, while the cave brings humidity and damp limestone into the equation. I would rather carry a modest camera with a clean sensor than three lenses and spend the afternoon worrying about every grain of sand.
- A 16–35mm or similar wide zoom is useful for chambers, ceilings and formations when you cannot step backwards.
- A 24–70mm equivalent is a strong one-lens compromise if you want to photograph both details and wider scenes.
- A lens hood protects the front element from stray knocks and helps with flare from cave lighting.
- A clear protective filter can act as sacrificial glass in dusty conditions, but clean it carefully rather than rubbing grit across it.
- Carry a rocket blower and two clean microfibre cloths. Keep one cloth sealed until the other has become properly grubby.
- Two small silica-gel sachets are useful when moving between an air-conditioned car and humid cave air.
- Use a sealed pouch or zip bag for lens changes. The best lens-changing technique in a dusty place is simply not changing the lens.
- A lightweight tripod is valuable for serious interior work, but only if staff and the people around you have room for it.
Before leaving the car park, check the front element, battery and card space. You will not win any prizes for discovering a full memory card after walking down into a dark chamber. I keep a headtorch in the side pocket too, partly for practical reasons and partly because trying to find a dropped lens cap in cave gloom with a phone screen is miserable.
Tripods, Monopods and the Walkway Reality
A tripod earns its weight when you are photographing formations at ISO 100 or 200 with a shutter lasting several seconds. It also gives you a chance to frame a ceiling carefully, wait for a group to move through, then make several exposures for focus stacking. On a narrow walkway, though, three legs suddenly become three obstacles, particularly when a group is coming behind you.
Ask park staff before placing tripod legs anywhere around the cave route. Follow the marked path and never move barriers or lean equipment against fragile formations. A monopod can be quicker to pack away, but it still needs space and does not replace good manners when other visitors are passing.
Flash, the Petroglyphs and Where the Line Sits
Flash should be treated as off around the rock drawings unless park staff explicitly tell you otherwise. The point is larger than getting a nicer photograph: the drawings are cultural material that has survived for generations, and visitors should not behave as though an ancient wall is a studio backdrop. The Fontein Cave visitor rules page covers the wider etiquette, including staying on the permitted route and avoiding contact with the drawings.
The best photograph of the drawings is the one that leaves the drawings exactly as you found them.
There is an important difference between recording available light and adding your own. A deliberate flash burst, off-camera strobe or bright torch aimed directly at the artwork changes the conditions for everyone nearby. Even a phone can cause trouble if auto-flash is left enabled. Check the setting before entering, then check it again when the phone camera opens.
For broader cave photography guidance and conservation-minded caving information, the National Speleological Society is a useful reference. For current Aruba-specific rules, closures and access information, check Fundacion Parke Nacional Aruba before setting off.
Low-Light Technique for Fontein’s Chambers
Start with the camera in manual mode if you are comfortable using it. Set the aperture for the depth you need, keep ISO as low as the available support allows, and let the shutter take the strain. A tripod turns a gloomy chamber from an ISO 6400 emergency into a controlled exposure at ISO 200 or 400.
Focus can be awkward when the subject is mostly black. Use a lit edge of limestone to acquire focus, then switch to manual focus so the camera does not hunt between frames. For formations with a foreground ridge and distant ceiling, take several frames at different focus distances. Focus stacking can recover depth that a single exposure cannot, particularly at wider apertures.
| Subject | Aperture | Shutter | ISO | Field Note |
|---|---|---|---|---|
| Rock drawings near daylight | f/5.6–f/8 | 1/15–1/60s | 400–1600 | Brace the camera and expose for the drawing, not the bright entrance. |
| LED-lit formations | f/4–f/5.6 | 2–8s | 200–800 | Use a tripod and check the brightest lamps for clipped highlights. |
| Ceiling detail | f/8 | 4–15s | 100–400 | Take several exposures if the scene has a wide brightness range. |
| Arikok midday landscape | f/8–f/11 | 1/500s or faster | 100 | Watch pale limestone for blown highlights and harsh glare. |
| Lower-angle desert light | f/8–f/11 | 1/125–1/500s | 100–400 | Backlight a divi-divi tree or cactus for stronger shape. |
Those numbers are starting points, not commandments. The cave lighting, your camera’s sensor and the exact position of the subject will change the exposure. I usually make one careful frame, inspect the histogram, then bracket when the scene contains both a bright lamp and deep shadow. The rear screen can make a dark file look wonderfully exposed when it is actually two stops too bright.
If You Only Brought a Phone
A modern phone can make very respectable Fontein Cave photos, especially when you stop fighting its software. The biggest improvements come from controlling flash, exposure and movement rather than hunting for a secret camera mode.
- Disable auto-flash before entering the cave. Do not leave it on automatic and hope the phone behaves.
- Tap and hold on a midtone area to lock focus and exposure, then pull the exposure control down if the cave lights are clipping.
- Use RAW or ProRAW when your phone supports it and you intend to edit later.
- Activate Night mode only when the phone can remain genuinely still. Rest it on an approved stable surface rather than waving it through a long exposure.
- Try the main camera before the ultrawide. Ultrawide lenses can become noisy in dim chambers and may stretch people or formations near the frame edges.
- Avoid digital zoom. Move closer where permitted, or crop the full-resolution file afterwards.
- Clean the phone lens before every important frame. Finger grease is surprisingly effective at turning cave lights into giant glowing blobs.
- Leave plenty of storage available. Computational night photography can create large files, especially when RAW is enabled.
Phone trick: lock exposure on the darker limestone, then lower it slightly. Letting a lamp clip to white is far harder to repair than a shadow with a little room left in the file.
White Balance and the Colour of Cave Light
Mixed lighting is where many cave photographs start looking oddly synthetic. Daylight may enter from the mouth while artificial lights colour the deeper formations, and automatic white balance has to choose one interpretation for the entire frame. The result can be a blue entrance, orange rock and greenish shadows in the same photograph.
If your camera allows Kelvin control, start around 3800–4200K and adjust from there. That range is only a working point; the actual fixtures and daylight will decide what looks natural. A small grey card is useful if you are working seriously, because it gives you a known reference when you process a set of images later.
Watch for LED flicker too. If you see horizontal bands or changing brightness between consecutive frames, alter the shutter speed and make another test. A very long exposure is not always the cleanest answer when artificial lighting is involved.
Shooting the Arid Arikok Landscape
Arikok changes character as soon as you leave the cave. Limestone catches hard sunlight, the trade winds push vegetation into expressive shapes, and the desert floor can look almost monochrome until you get close enough to notice the warm colours in the rock. The Aruba Tourism Authority’s Arikok guide is useful for understanding how the caves sit within the wider protected landscape.
- Use a polarising filter when reflected glare from pale rock or vegetation is distracting, but rotate it carefully because the effect can become uneven across a very wide sky.
- Leave the polariser in the bag when light is already weak or when you need every stop of exposure for a moving subject.
- Keep the tripod low in strong wind. A long centre column turns a stable setup into a small sail.
- Try a telephoto from a distance when you want to compress cactus, rock and distant ridges into a denser frame.
- Use a person for scale only when they are comfortable being included and the route allows them to stand there.
- Watch the direction of the sun. Early and later light pulls texture across limestone; overhead light tends to flatten it.
Composition: Scale, Silhouettes and the Root Curtain
Fontein’s smaller chambers can be deceptive in photographs. A wide lens makes the cave look enormous, so a person near the entrance can give the frame an honest sense of scale. Ask before arranging anyone for a photograph, keep them on the permitted route and never move them towards a fragile formation simply because the composition needs another metre.
Railings and paths can also work as leading lines, although they are rarely beautiful in their own right. Let them carry the eye towards the ceiling or a darker recess rather than pretending they are not there. When roots hang across the rock, try exposing for the brighter opening behind them. The roots become silhouettes and the cave suddenly has depth.
Dust, Heat and the Lens-Change Rule
My hard rule in Arikok is simple: one lens change executed properly beats four hopeful swaps. If you know you will spend an hour moving between dusty exterior paths and the cave, choose the focal length that covers most of the work and keep it mounted.
Condensation deserves the same attention. If your camera has been sitting in an air-conditioned car, do not rush it straight into humid cave air with the lens cap off. Keep the camera enclosed for a while and let it acclimatise gradually. The same applies when returning to the cold car afterwards. Moisture forming inside equipment is a much nastier souvenir than a bit of dust on the filter.
Clean the camera after the trip rather than attempting sensor surgery beside the trail. Use the blower on accessible surfaces, inspect the lens in good light and leave sensor cleaning to a proper kit or technician unless you already know what you are doing.
When to Shoot Around the Park
The caves are accessible during Arikok’s daytime operating window, while the exterior landscape changes dramatically with the sun. Aruba’s daylight is strong for much of the year, so the first part of the day and the later afternoon are generally more forgiving for landscape photography than the hard middle hours. Check the current park schedule before travelling rather than relying on an old blog post.
- Early morning: softer exterior light gives cactus, limestone and trees more modelling, while the cave entrance can retain gentle daylight.
- Late morning: hard sun starts flattening the desert, making this a useful period for interior photography if the cave is open and accessible.
- Midday: the exterior can be unforgiving, with high contrast and strong glare. If you are walking outside, carry water and protect yourself from the heat.
- Later afternoon: lower sun gives the desert more texture and can turn the cave entrance into a stronger compositional element.
For exact sunrise and sunset times, the Oranjestad sun calculator is a handy planning tool. Park access can change independently of the sun, so use the official park information for opening times and temporary restrictions.
Nearby Caves: Quadirikiri, Huliba and the Tunnel of Love
If your photography day extends beyond Fontein, the neighbouring caves give you different visual problems rather than simply another version of the same photograph. Quadirikiri is particularly interesting for natural shafts of daylight entering through openings in its roof, while Huliba, also known as the Tunnel of Love, gives you tighter spaces and a more enclosed composition. The Aruba Tourism Authority’s Quadirikiri guide has current visitor information and background on the cave.
Quadirikiri
Bring a wide lens and watch the ceiling. Shafts of daylight can become the dominant element, so expose carefully enough to retain texture around the opening. A fast-moving crowd can make a tripod awkward in the narrower sections.
Huliba
The tighter passages favour a compact setup. Keep your bag small, protect the camera from contact with rock and do not force yourself into spaces that feel unsuitable for your equipment or body.
Editing Restraint: Leave the Ochre Alone
Cave files invite heavy editing because the raw scene often looks disappointingly dark on screen. Resist the urge to lift every shadow until the chamber resembles a brightly lit attraction. The limestone has dark recesses. The artificial lighting can have an odd cast. The drawings have their own muted colours. Those things are part of the photograph.
I usually begin with a restrained white-balance adjustment, pull back clipped highlights, then lift the deepest shadows only far enough to reveal useful structure. Global saturation stays modest. I avoid brightening the area around Indigenous drawings selectively, because doing so can make the artwork look far stronger in the photograph than it appeared to the visitor.
Sharpening needs a light hand too. Limestone texture is full of tiny edges, and aggressive sharpening turns those edges into digital grit. If a photograph needs heroic editing to become convincing, the problem was probably sitting in the cave with you, wearing a camera strap.
Plan the Visit Around the Light
Fontein is part of Arikok National Park, so photography has to fit around park access, visitor movement and the rules protecting the site. The current Fundacion Parke Nacional Aruba information should be your authority for access and restrictions, while Aruba’s official tourism cave guide is useful for wider destination planning.
For practical driving information, use the Fontein Cave transport guide; for orientation inside the park, see the map and location guide. If you want the cultural context before photographing the drawings, read the history page, then return here for the technical side. The Fontein Cave photo gallery is where the finished images live.
There is no special camera that makes Fontein easy. A clean lens, a steady support, sensible exposure and enough patience will get you much further. The cave is already doing the interesting work; your job is to record it without asking the place to perform for the camera.